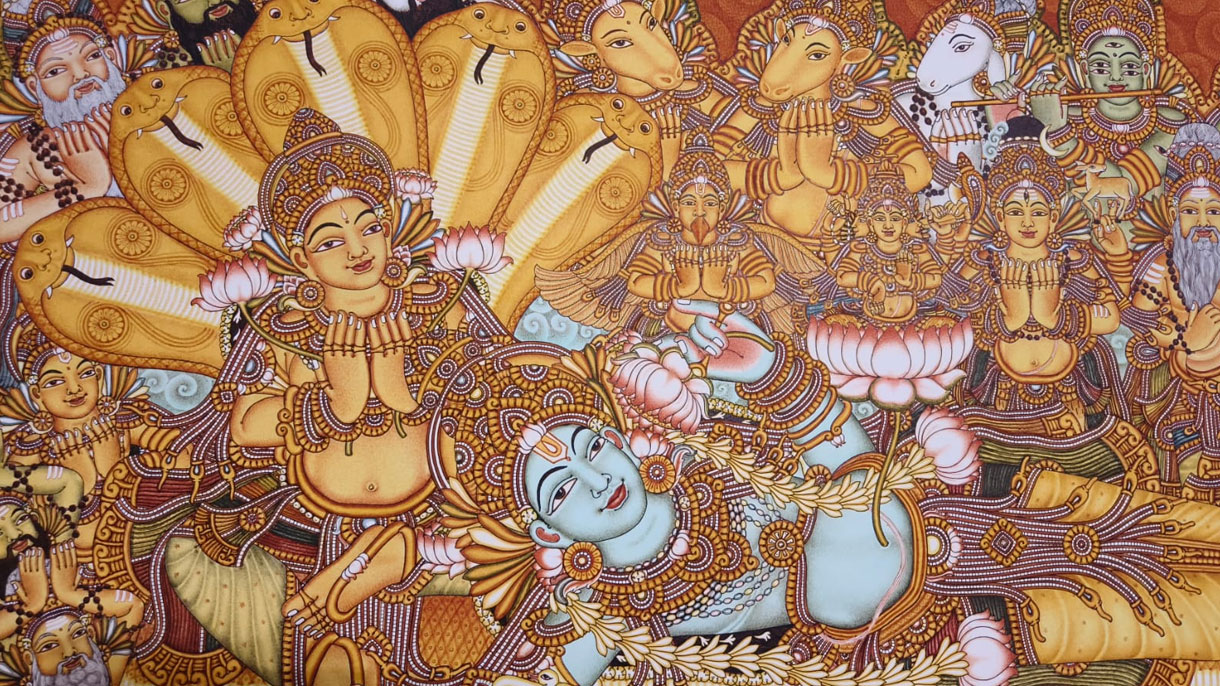
The traditional process followed in Kerala Mural Painting is as follows:
Step 1: Preparing the Ground
Once the surface is perfectly prepared, the artist begins with a light initial sketch using either a very light yellow color or a pencil. This sketch is drawn freely, allowing the artist to modify the lines until satisfied with the overall composition.
Step 2: Final Drawing
After completing the initial sketch, the artist goes over it with red color to create the final drawing.
Step 3: Color Application
The spaces within the final drawing are then filled with colors. Once the flat colors are applied, the forms are shaded using a fine brush through a stippling process. The visible stippling marks help to create the illusion of roundness and depth. Yellow areas are shaded with red, and green areas are shaded with black.
Step 4: Outlining
Upon completing the shading, all the forms are outlined with black color, causing the original red lines to disappear.
Step 5: Detailing
Any small areas that need to remain white but were not left unpainted are carefully scratched out with a sharp instrument to reveal more white details.
Step 6: Final Touch – Eye Opening (Nethronmeelanam)
The last step is the “eye opening” (Nethronmeelanam). When the eyeballs are filled with black color, the character is believed to come alive, marking the completion of the mural.
This traditional process ensures the vibrancy and lifelike quality of Kerala mural art, deeply rooted in cultural beliefs and artistic practices.
Making of Colors
Mural painters in Kerala follow traditional practices for the making of colours. A notable feature is that all the colours are derived from nature and no artificial colour is used.
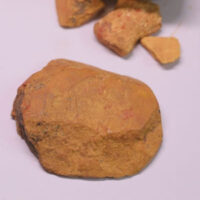 Yellow: Yellow ochre is collected from mountains and riversides, washed in pure water, ground into powder, and stirred in water. The floating pure substance is separated and dried on an earthen vessel in a closed room ore shade
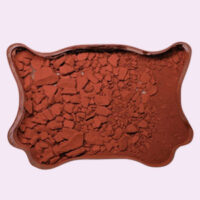 Red: Red color is made from pulverizing red laterite on a stone slab for a day, then washing it in pure water to obtain the pure red pigment.
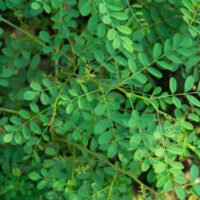 Green: Green is made in several ways. One method involves using copper sulphate in a brass container to produce a blue color, which turns green when yellow is added. Neelamari leaves create a yellowish green, while corroded metals produce corrosive green. Manayola leaves mixed with dark blue, and gum from the eravi tree combined with blue dye, create other shades. Walls are initially painted yellow, then coated with blue or copper sulphate for green. Shades like leafy green, parrot green, and grass green are achieved by enhancing ingredients in copper sulphate solution.
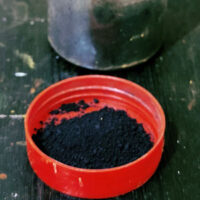 Black: Black is made from the soot of burning oil.
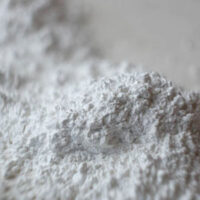 White: The wall receives multiple coatings of white made by mixing soft lime stones with tender coconut water. The consistency is like cow’s milk. Pookaitha roots are used to make a brush for applying white.
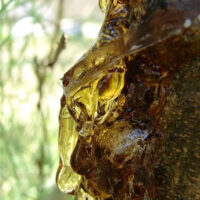 Gums: Neem tree gum mixed with water is used to fix colors on the walls. The gum and water mixture is ground, settled, and the clear liquid is used for painting. Coconut shells and hands are used for grinding and mixing. Gums from trees serve as a primary coat to help colors adhere to the walls. Proper gum amounts are crucial for the texture and beauty of the painting.
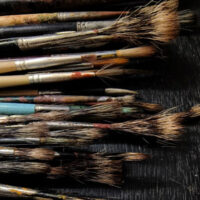 Brushes: Brushes are made from Eyyampullu grass, cleaned, boiled in milk, and tied to bamboo sticks or squirrel hair. Calf ear hair is also used for brushes. Primary drawings use Kittakol, a mixture of Purana kittam powder and white rice, which can be easily erased.
Learning the Art
The Gurukul system, where students live with the teacher, is common. Students need talent, visualization, and patience. They are tested before enrollment and practice drawing on wooden planks or the floor using coal or stones. Mastery involves learning the story, measurements, color patterns, and character emotions before painting. Students assist in making brushes and colors to gain full knowledge, enabling them to work on temple and palace walls.

